MagnetometerDIY geomagnetic storm monitoring | |||||||||||||||||||||||||||||||||||||||||||||||||||||||||||||||||||||||||||||||||
| |||||||||||||||||||||||||||||||||||||||||||||||||||||||||||||||||||||||||||||||||
I cut some pieces from a plastic mirror (courtesy of The Dollar Store) and shaped them in a circle using a Dremel rotary tool (actually, mine is Durabuilt, but the name Dremel is probably more widely recognized and is more likely to invoke in your mind the tool I'm talking about). Although only two mirrors are used, I made several, just in case. 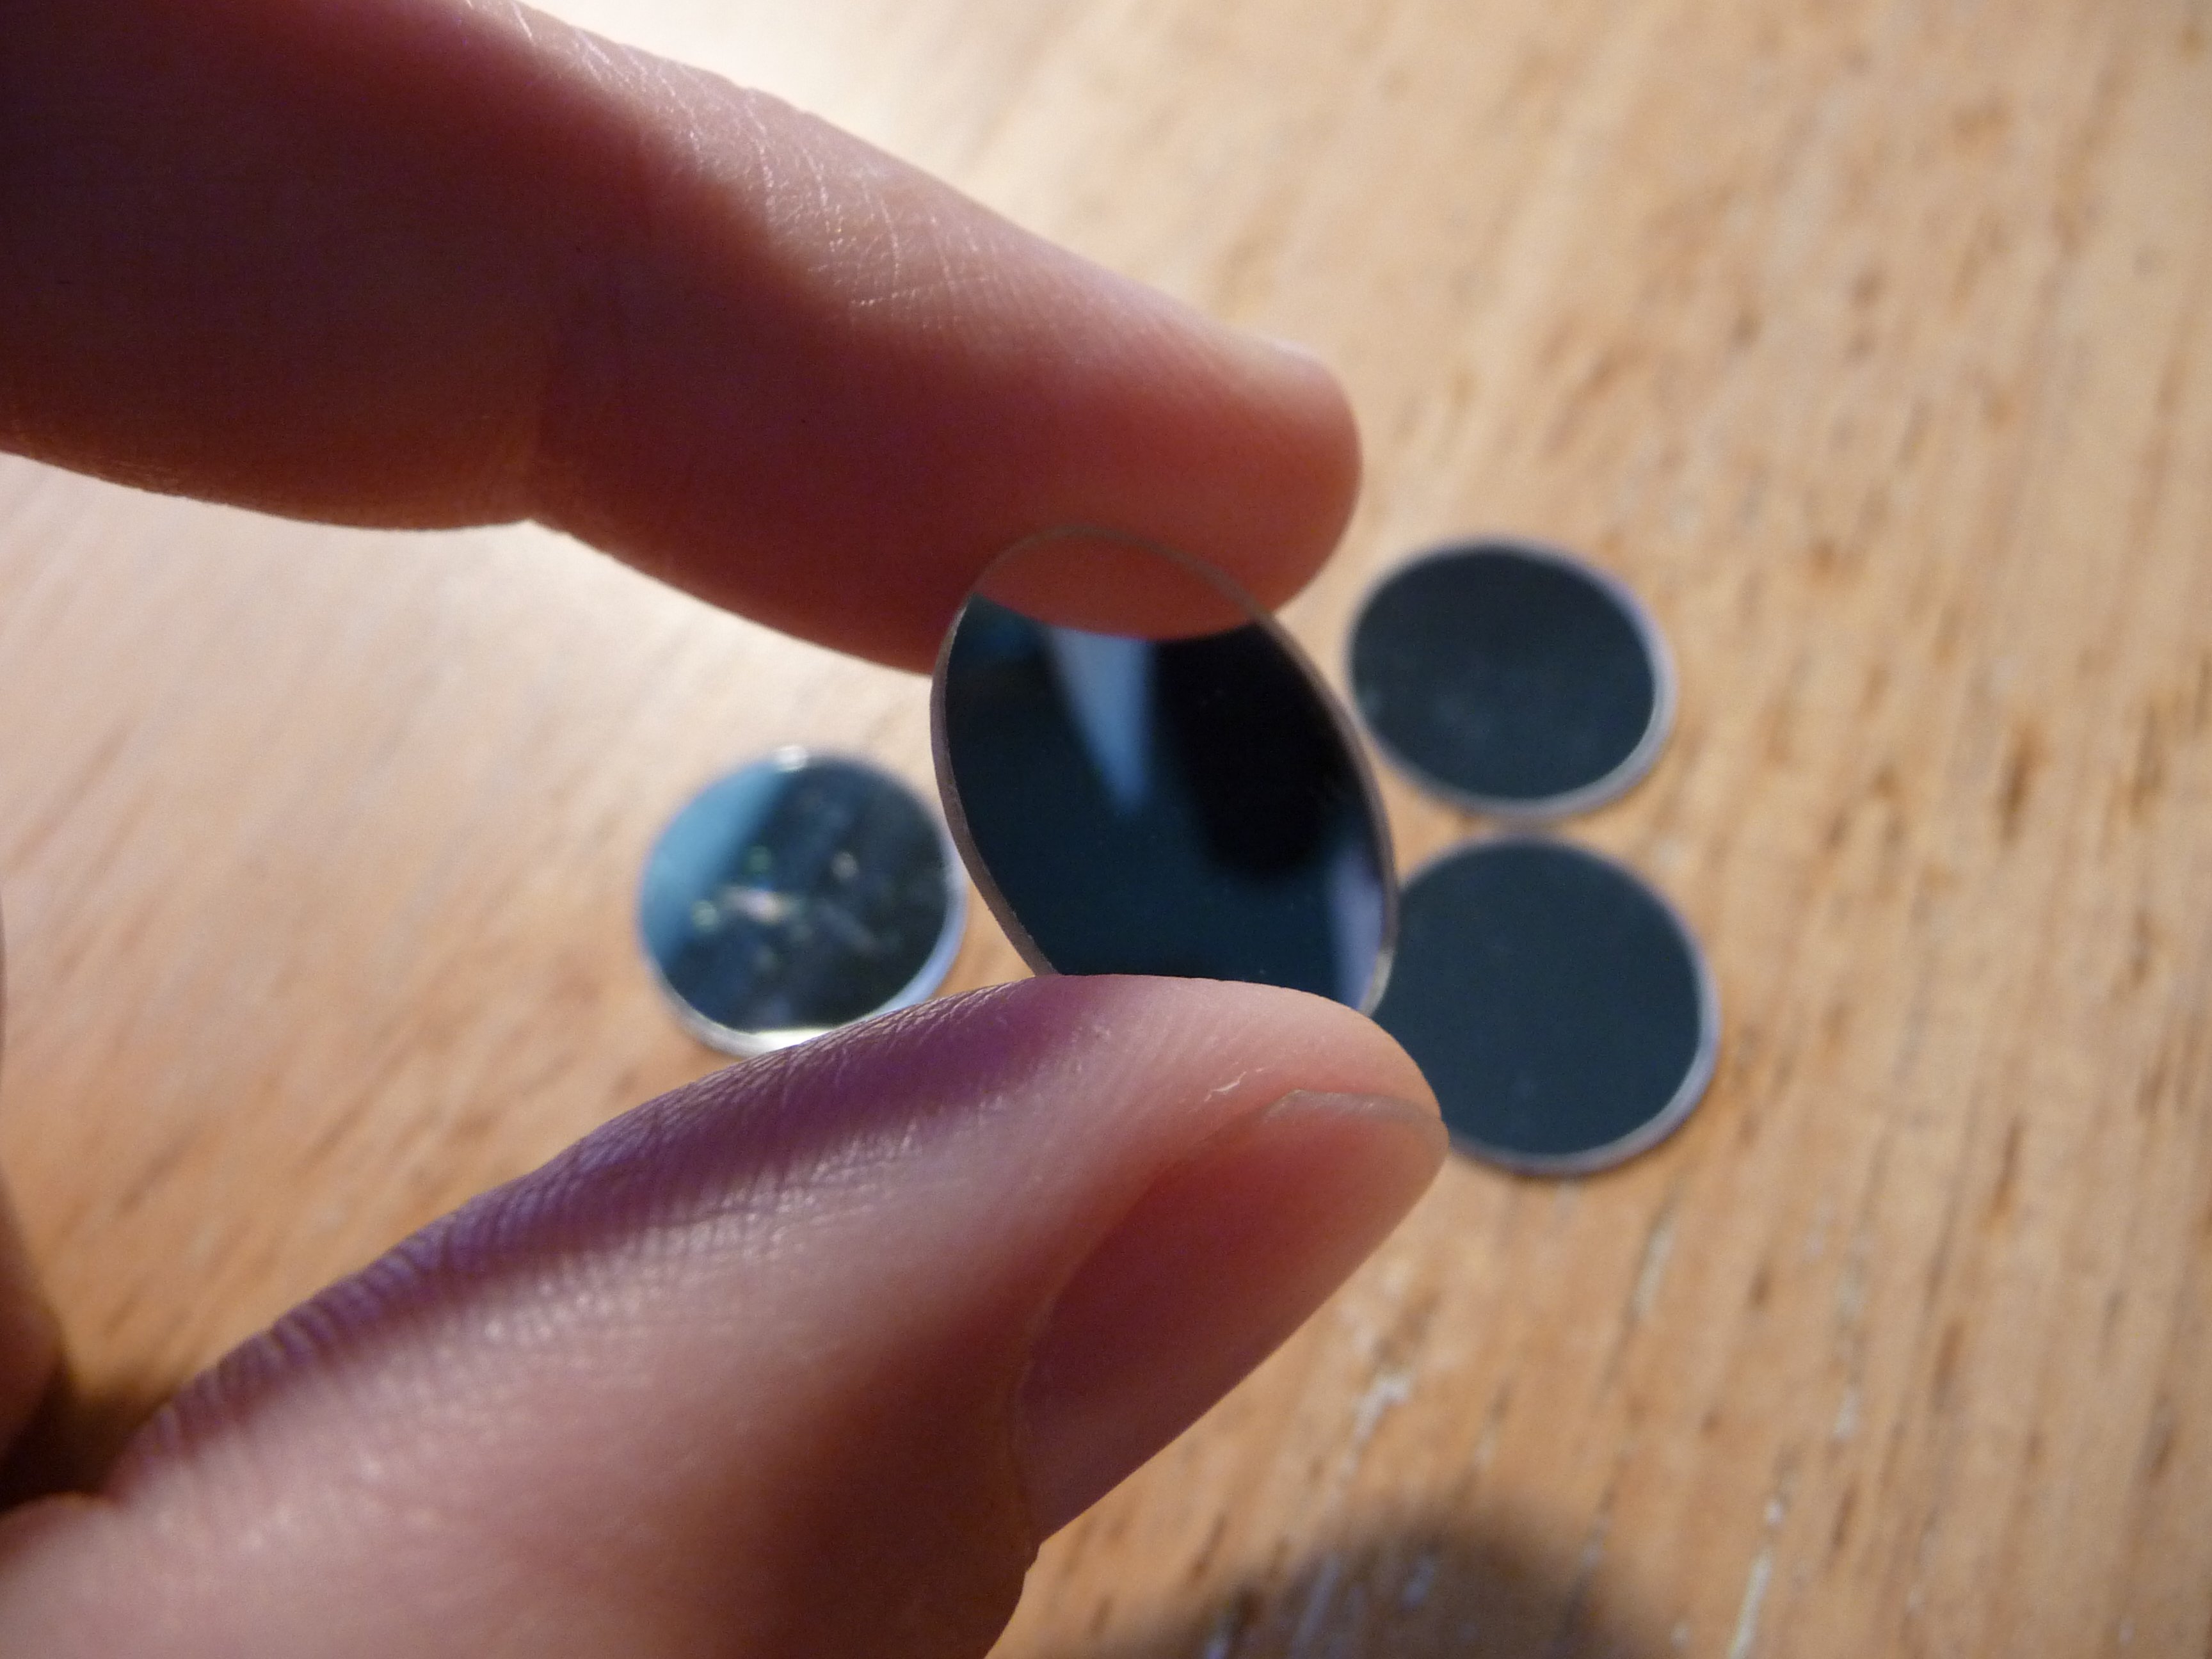 The diameter of the mirrors is intended to fit one of those small shower-curtain magnets. To keep the magnet balanced, I glued two of the mirrors on each side. Important: There are a couple of things to keep in mind when choosing a magnet. Before gluing the magnet to the mirrors, check if it is bipolar one - in other words, if it has one South and one North pole on the appropriate sides. Some magnets (like those magnets with pictures of the Grand Canyon that people stick on their refrigerators) have a number of N and S poles arranged in stripes - such a magnet will be useless because it won't point in the right direction. To verify that the magnet is what you need, attach it to a string and see if it consistently orients itself in North-South position. If it does - you are in business; if not - it's time for a new shower curtain. Using the same rotary tool I cut the plexiglass windows for the T-joint and was so pleased with the results that I took no less than ten pictures from different angles: 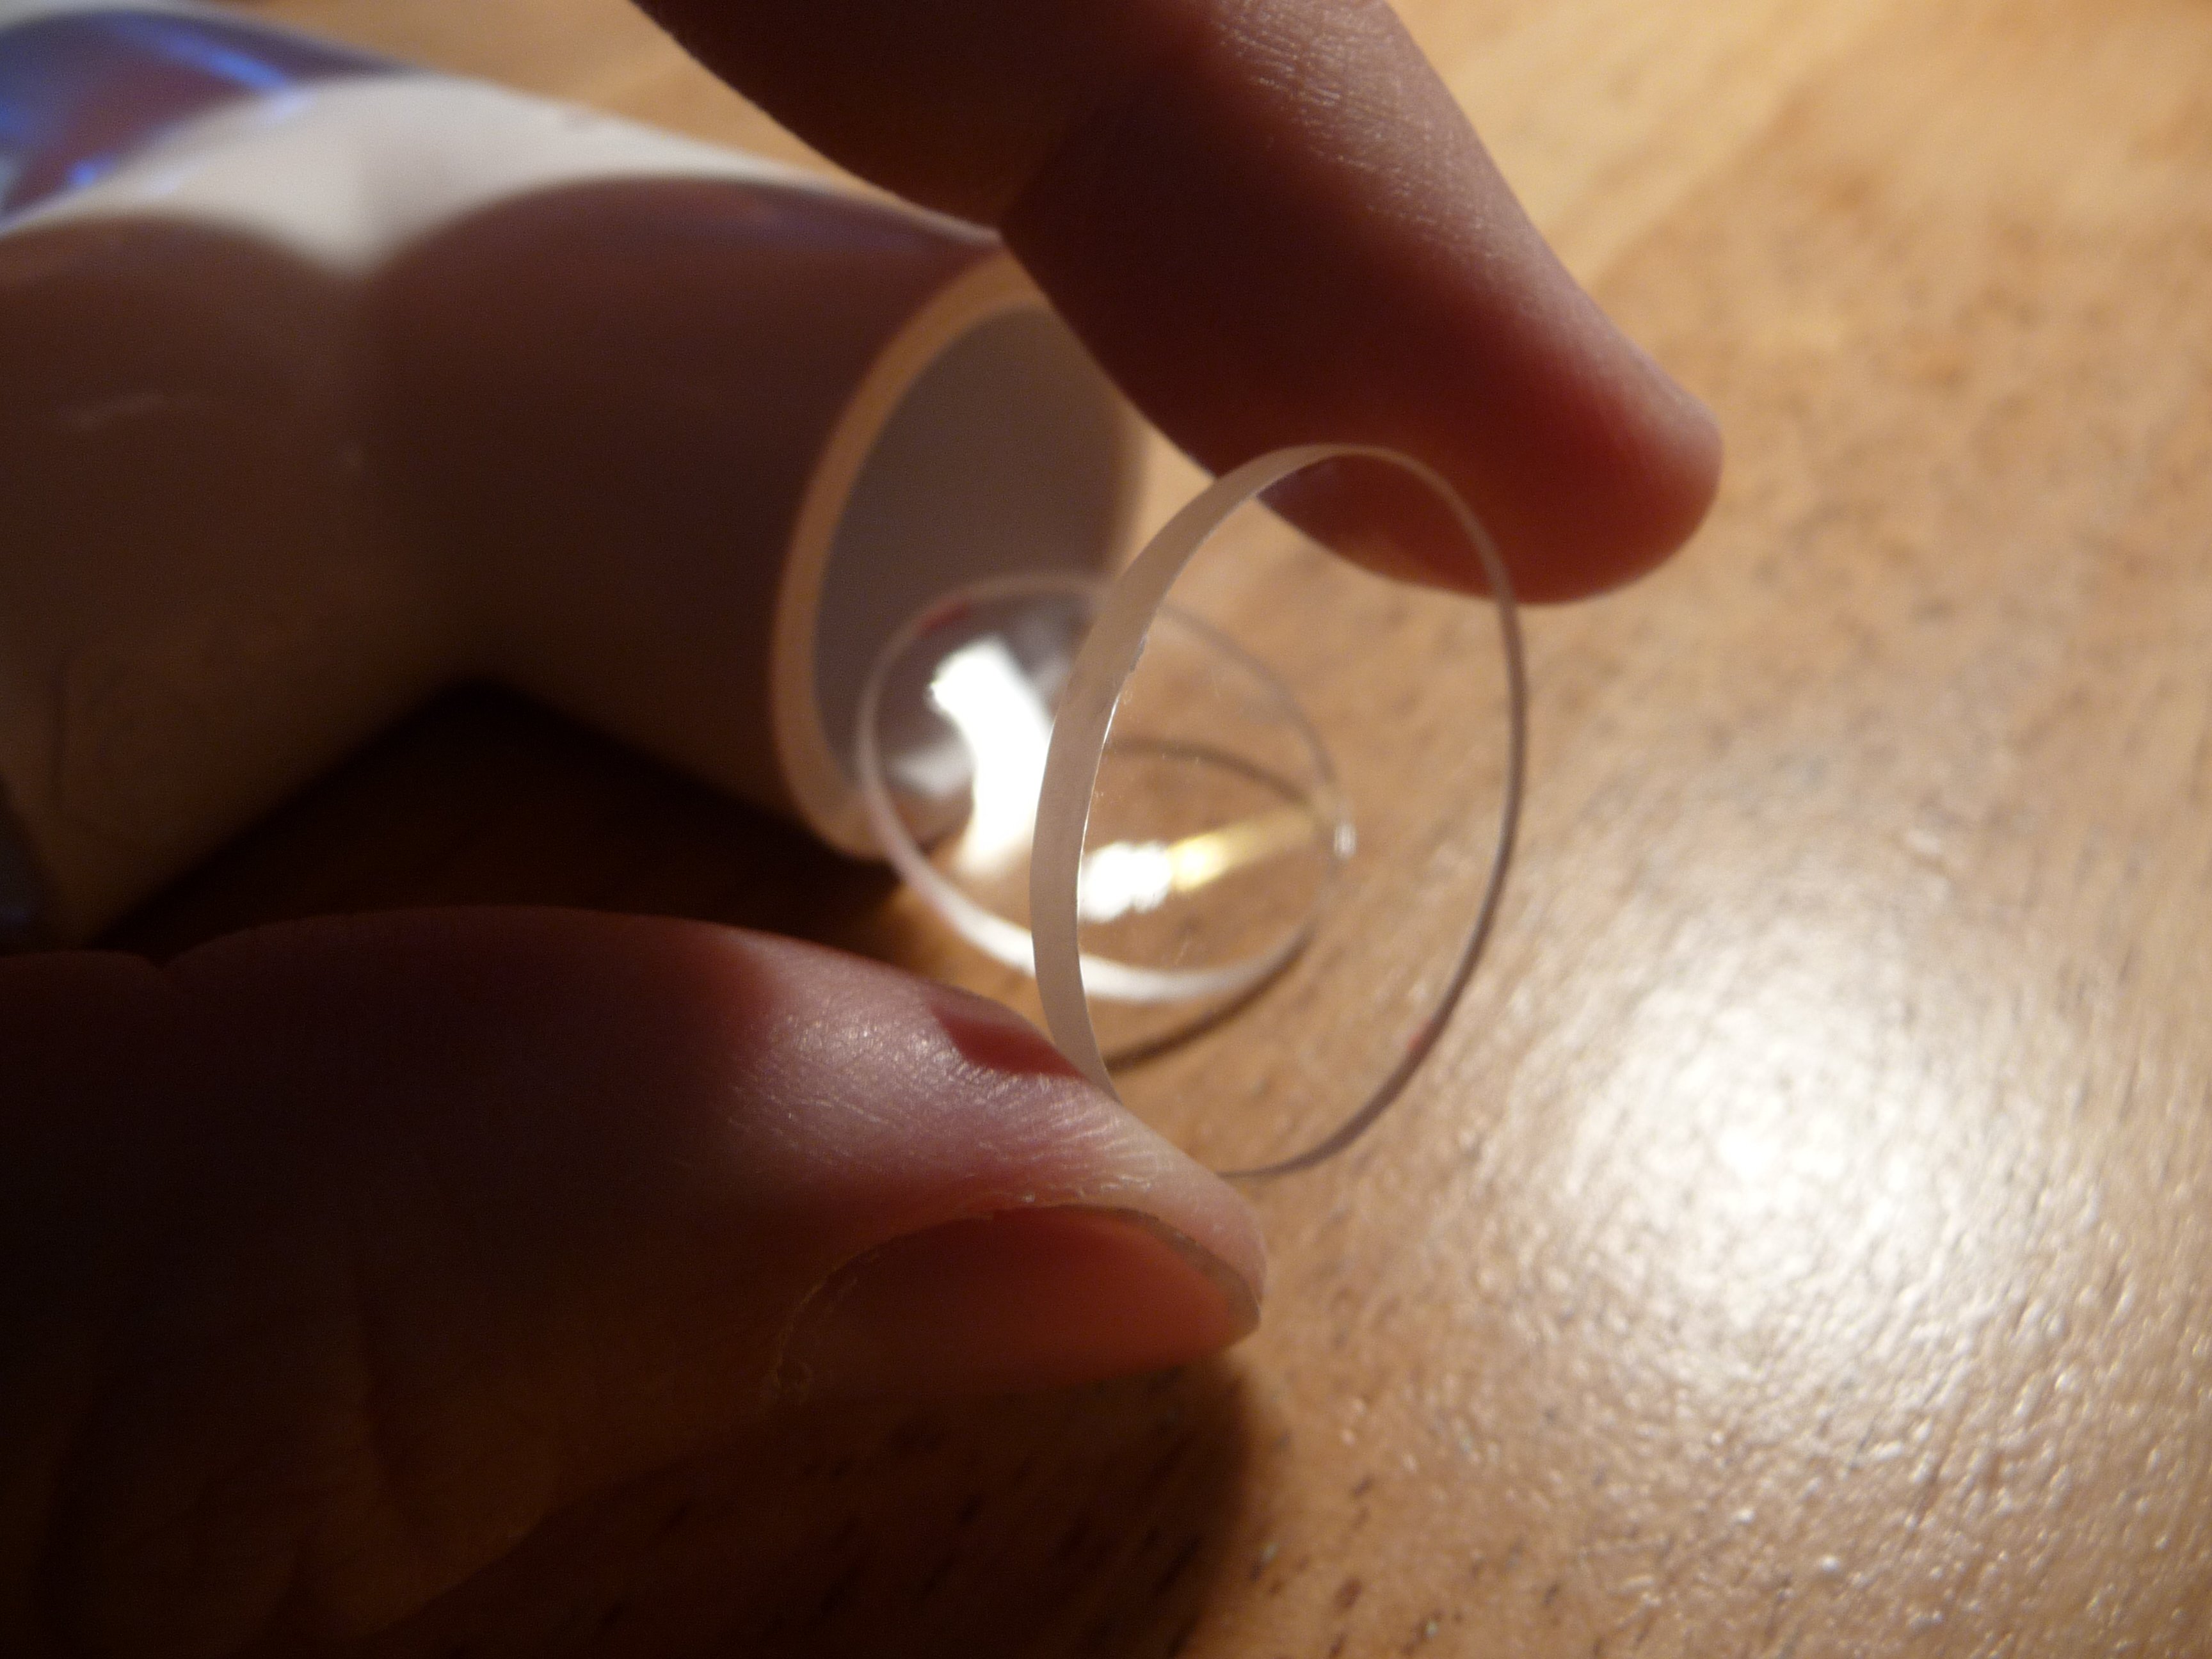 The windows are held in place inside the T-joint using a thick layer of SuperGlue to provide watertight seal. I was not sure it will work, but it's holding very well so far (several months already). Thank you Harry! Important: It is a good idea to glue one of the windows at a small angle. Otherwise, your sensor may pick the reflected light from the window instead of the reflection from the mirror. Putting the window slightly askew will ensure that the light gets reflected away from the sensor. What's left was to attach the mirror to the torsion thread and to hang this inside the pipe. To make assembly/disassembly and adjustment easy, I drilled a hole in the pipe cap and attached a spring behind the hole. Twisting the spring opens up the spaces between the spring coils so I can pull the thread. Letting the the spring go pinches the thread and holds it firmly in position:  Before actually building and testing the magnetometer I didn't give much thought of the torsion spring (the thread the mirror is hanging from). Initially I tried some sewing thread (how naïve!) which failed miserably - temperature and humidity changes were causing it to twist and untwist slightly, constantly changing the pointing of the mirror. A very thin fishing wire fared just a bit better, but was still sensitive to temperature changes while being too stiff to allow free movement of the mirror. I was getting desperate but with the help of the great guys from the sci.electronics.design newsgroup I was able to find several working solutions. First thing that worked acceptably was... hair. Yup! Find somebody with long straight hair and ask for some. Make sure to explain you are not into voodoo or something. Hair is OK but the thing that worked even better was thin copper torsion band. Big thanks to Boris Mohar, who was so kind to send me some samples. Other ideas that I didn't try include a strand from fiberglass cloth or thread from a fiber-optic cable. With the attachment of the mirror, all that's left is to fill the cell with damping fluid (a.k.a. water). Here you can see the mirror through the back of the window (the one that's opposite of the laser): 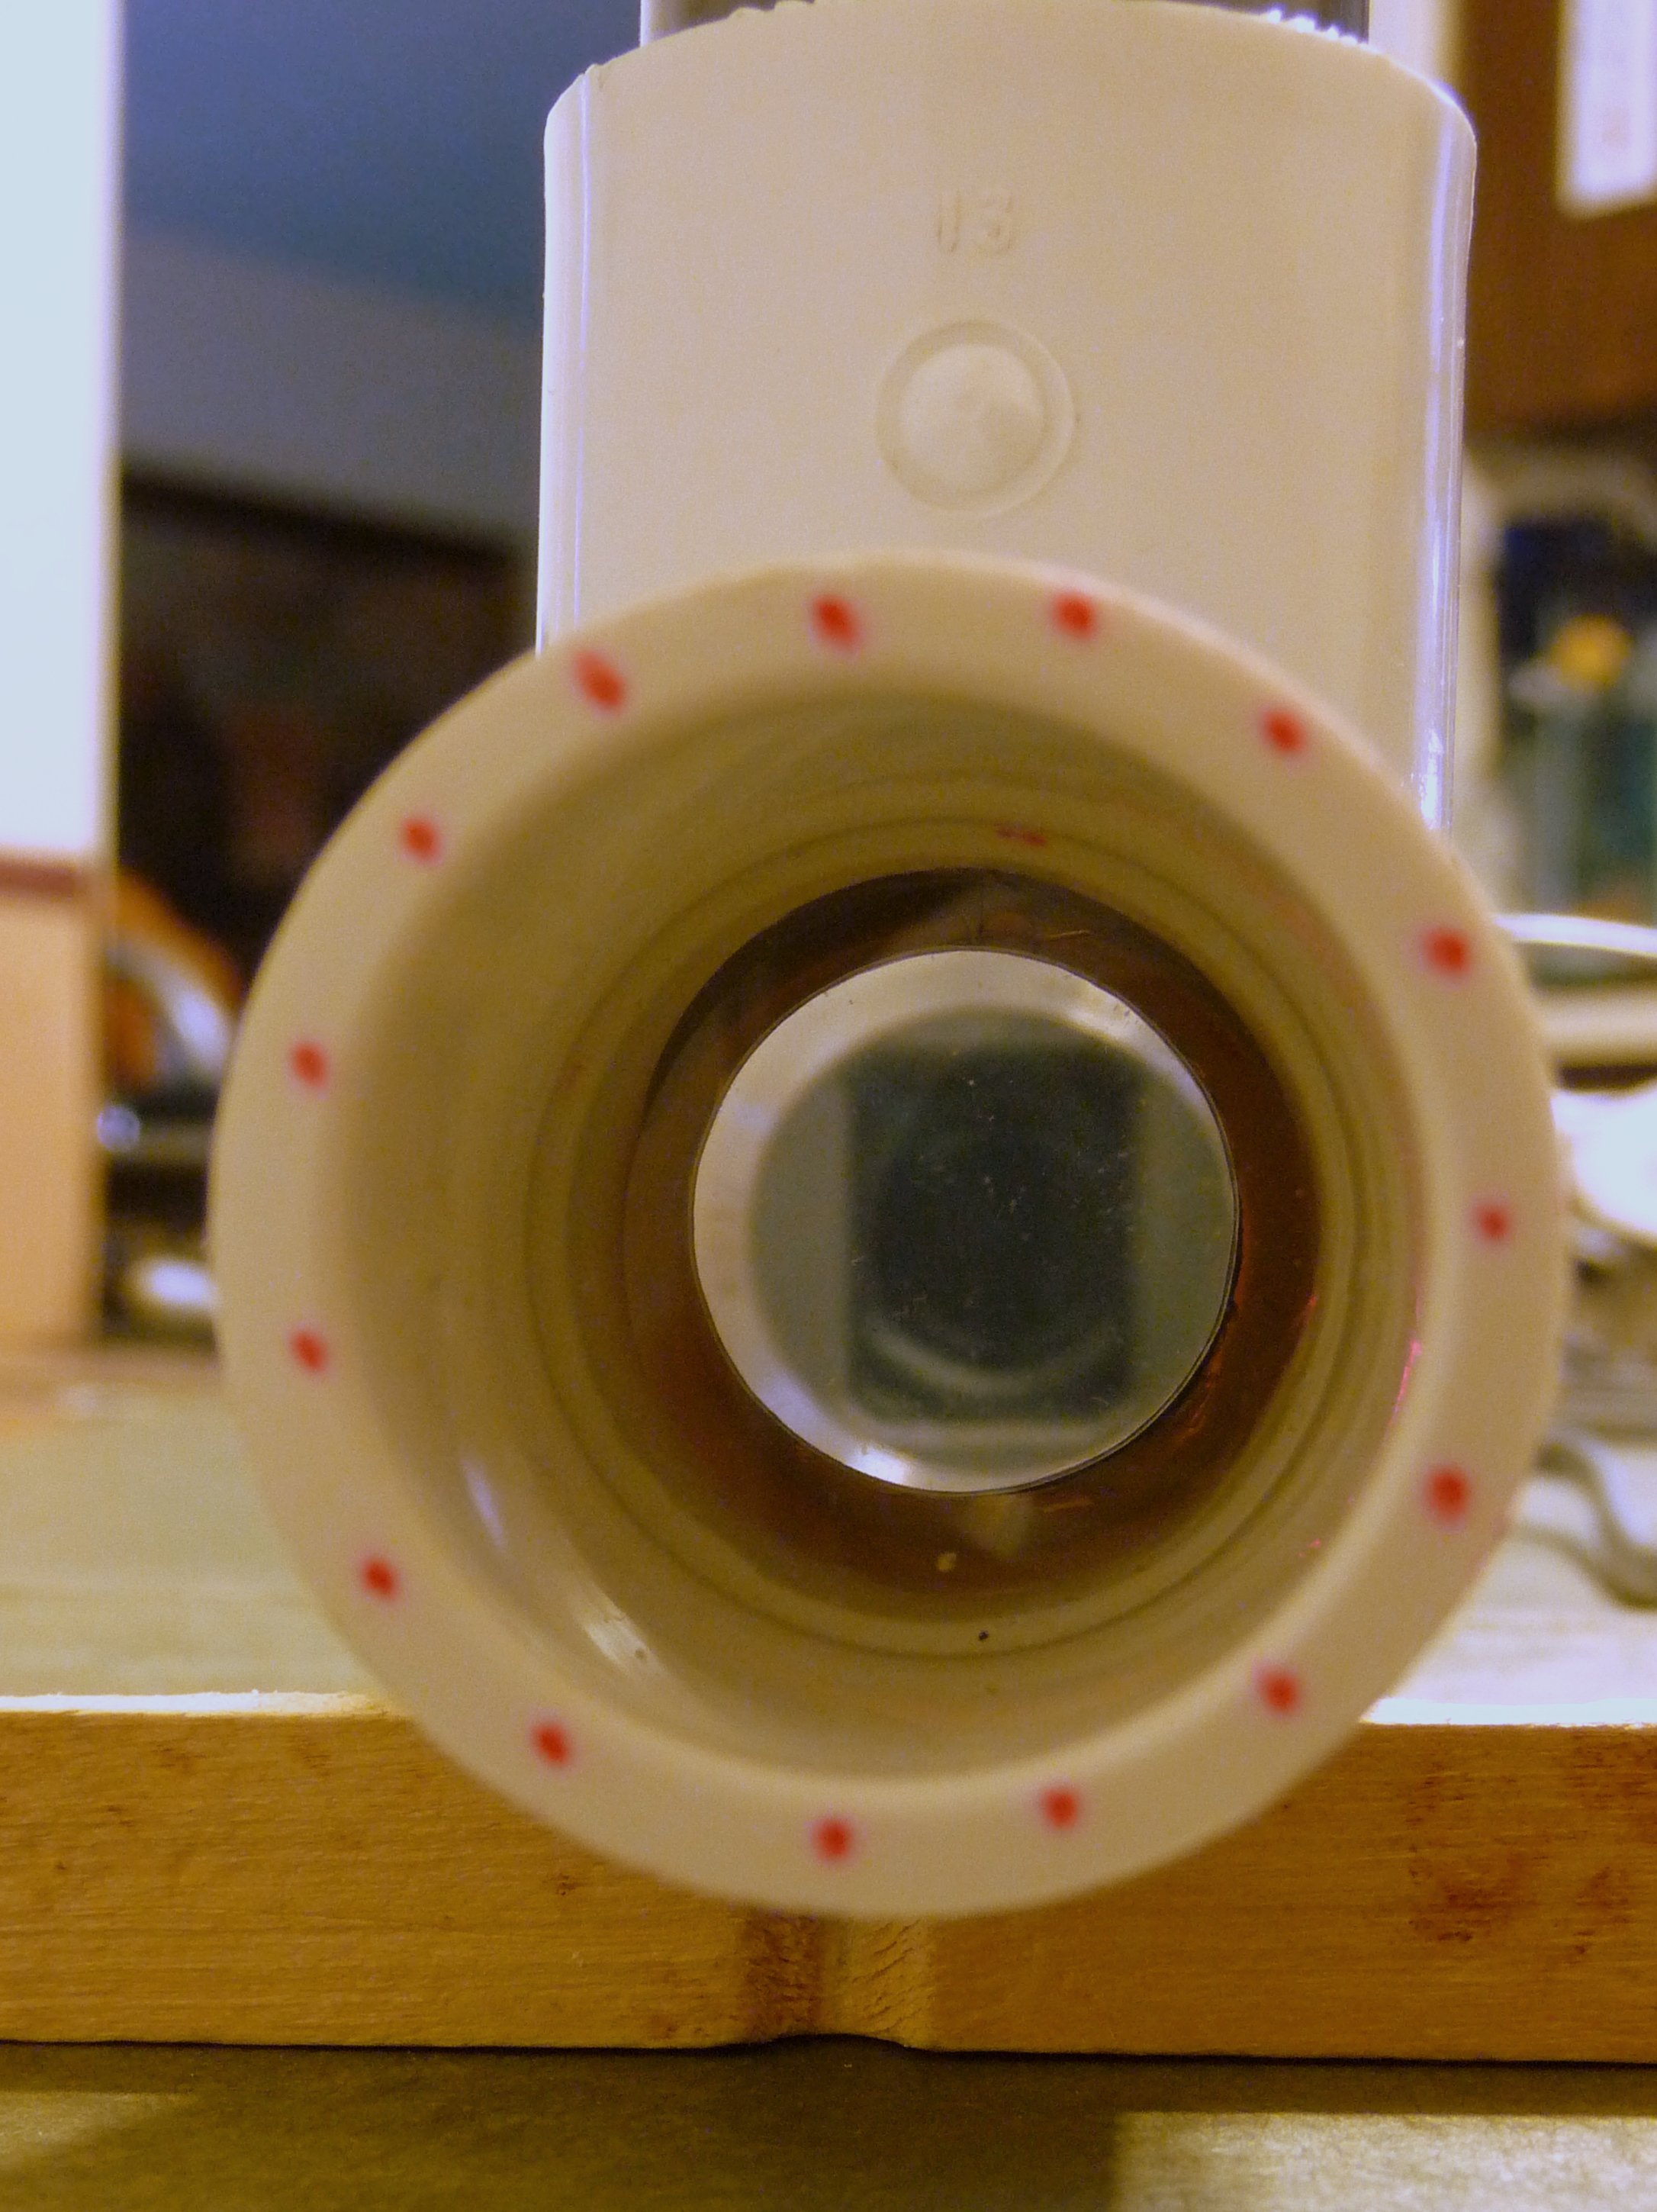 The back windows is very useful for centering and adjusting the magnetometer and to check that the mirror can move freely without touching the pipe. |
|||||||||||||||||||||||||||||||||||||||||||||||||||||||||||||||||||||||||||||||||
| |||||||||||||||||||||||||||||||||||||||||||||||||||||||||||||||||||||||||||||||||