| Air Sampler | ||||||||||||||
| Main | Construction | Operation | Schematics & Code | Pollen | Other Projects | |||||||||
This section describes the routine I follow when using the air sampler and has a lot of non-electronics- and non-microcontroller-related stuff. If you are not interested, you are welcome to skip directly to the pollen page for images of what got caught in the sampler, or to check some of my other projects.
OK, here it goes:
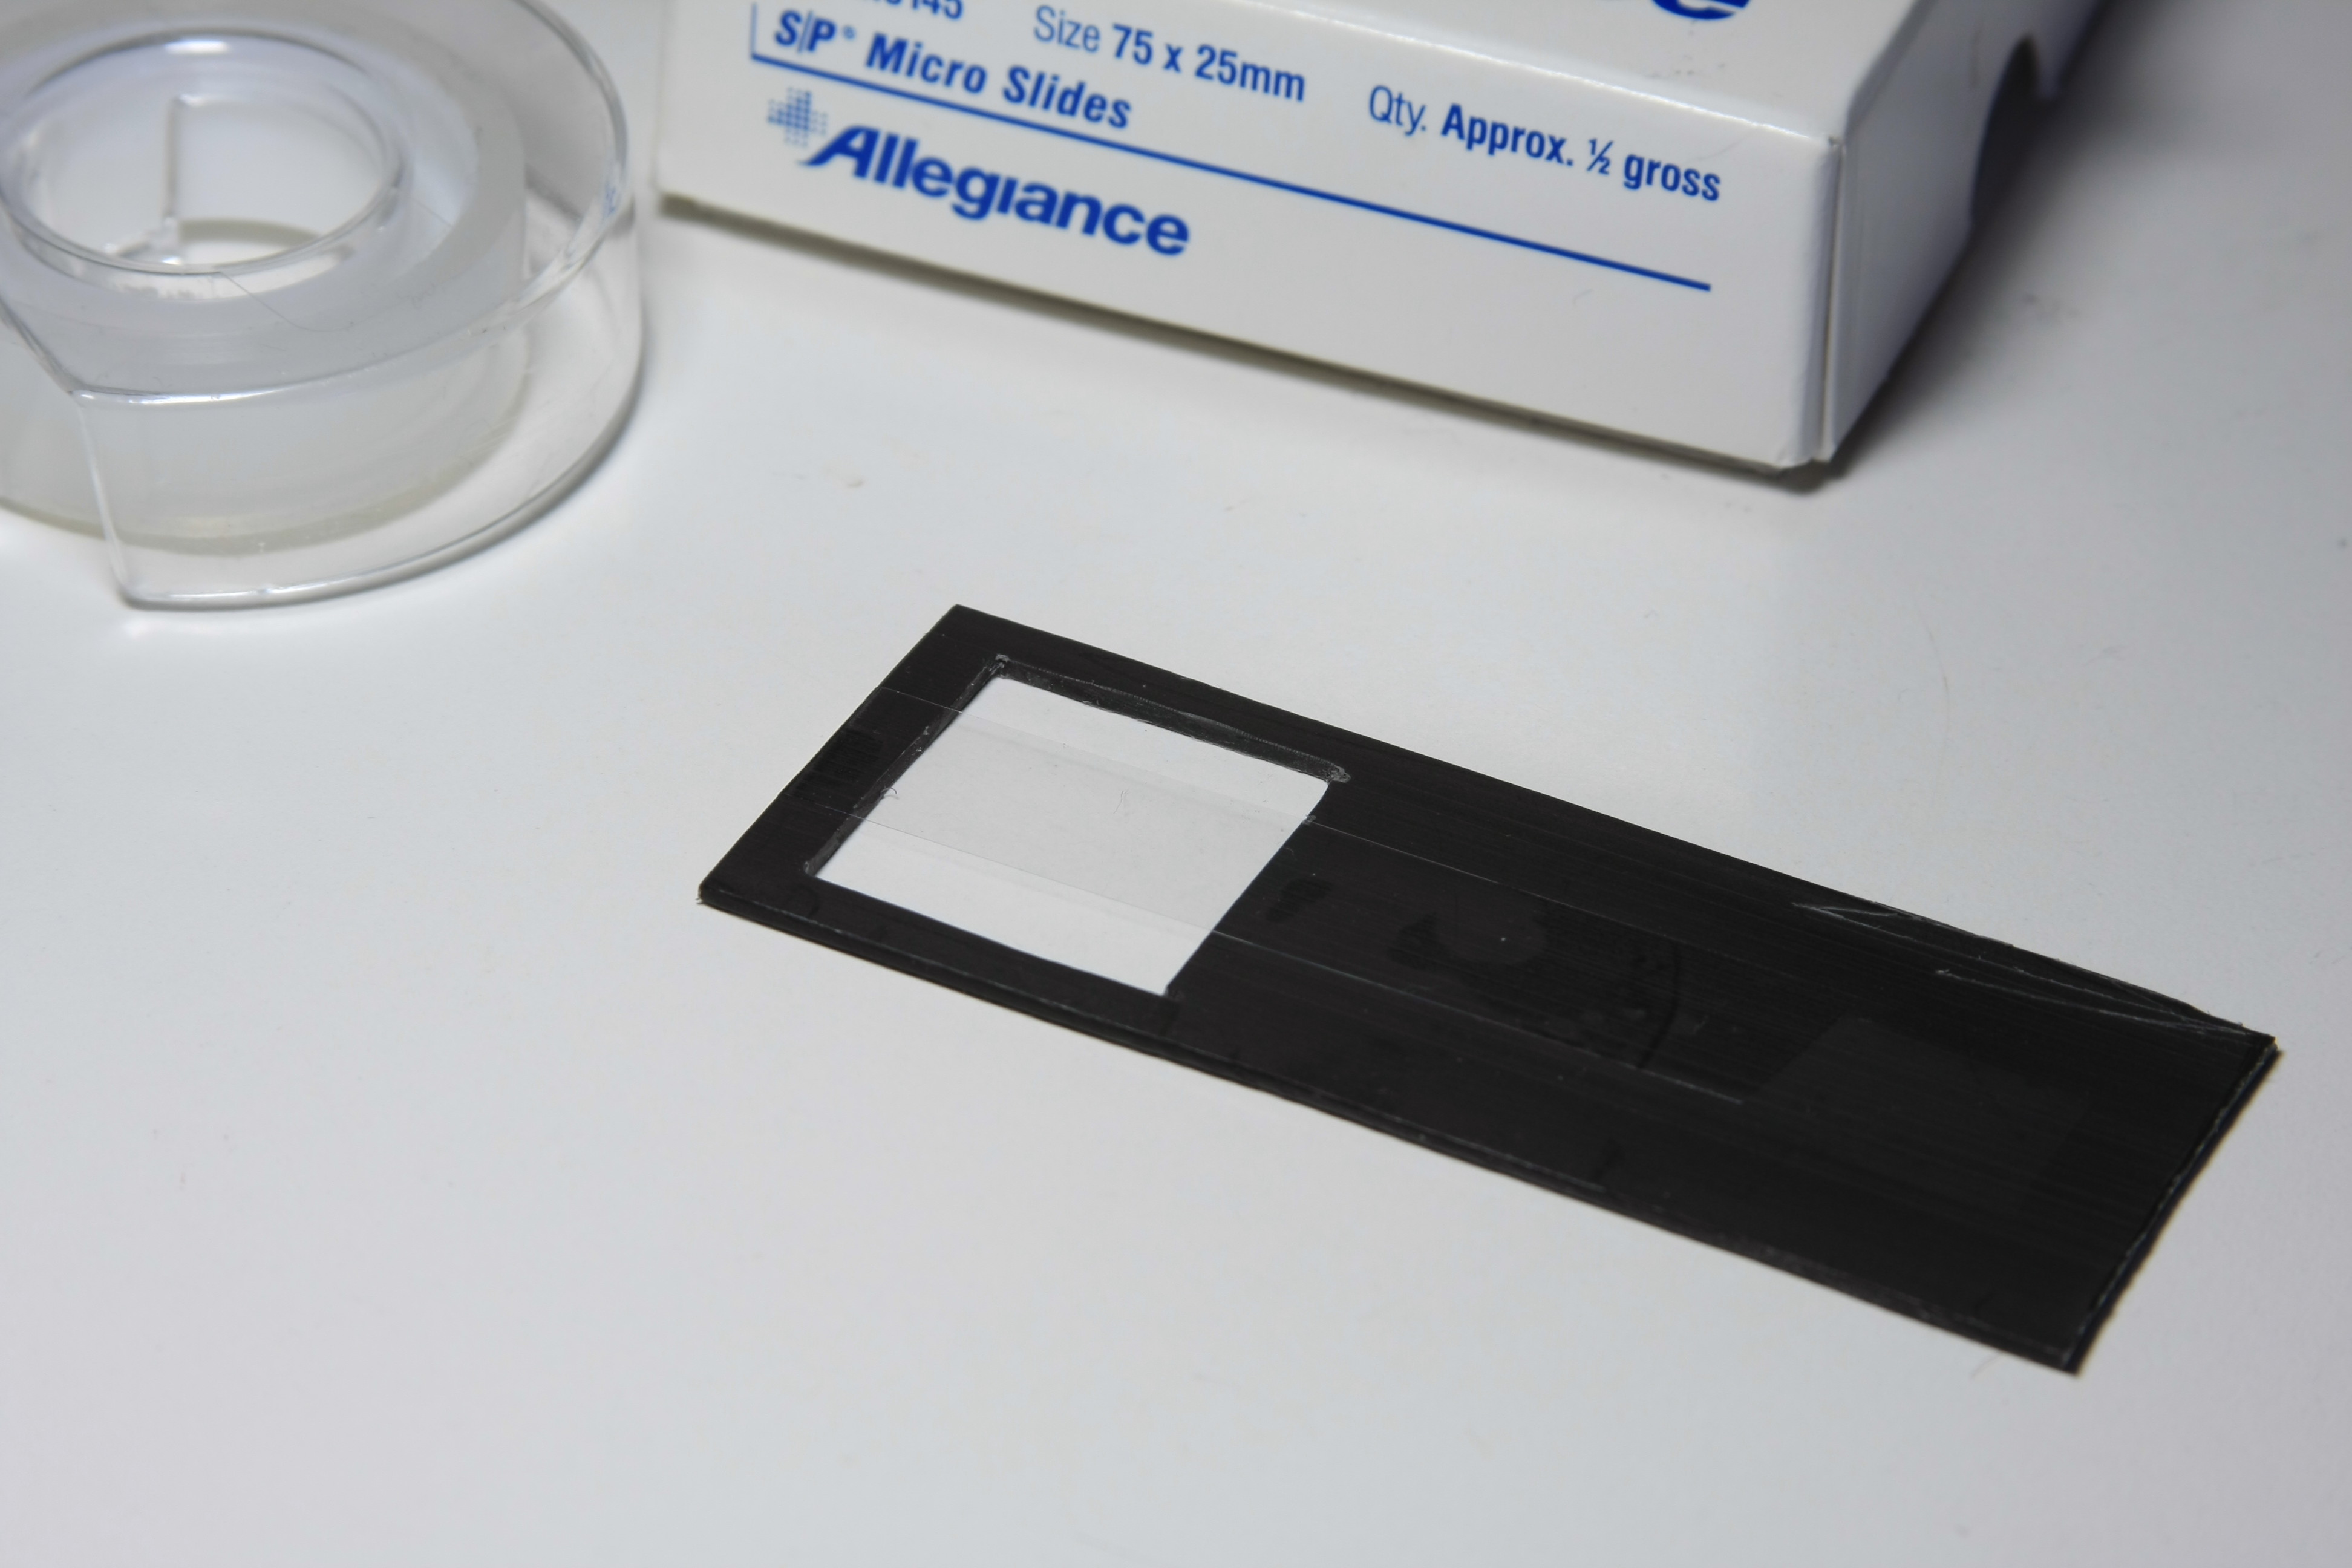
Prepare the Tape Holder
|
Take a piece of clear scotch tape and stick it on the tape holder.
Be careful when you do this - make sure that the tape is freshly pulled from the roll and not something that was gathering dust for weeks.
Also note that the tape gets some static electric charge that attracts dust particles from the air.
You can either perform this step in a really clean place, or simply do it in the same spot you will be testing the air at.
Put the tape holder in the air sampler as soon as possible to minimize exposure to unwanted dust.
|
 |
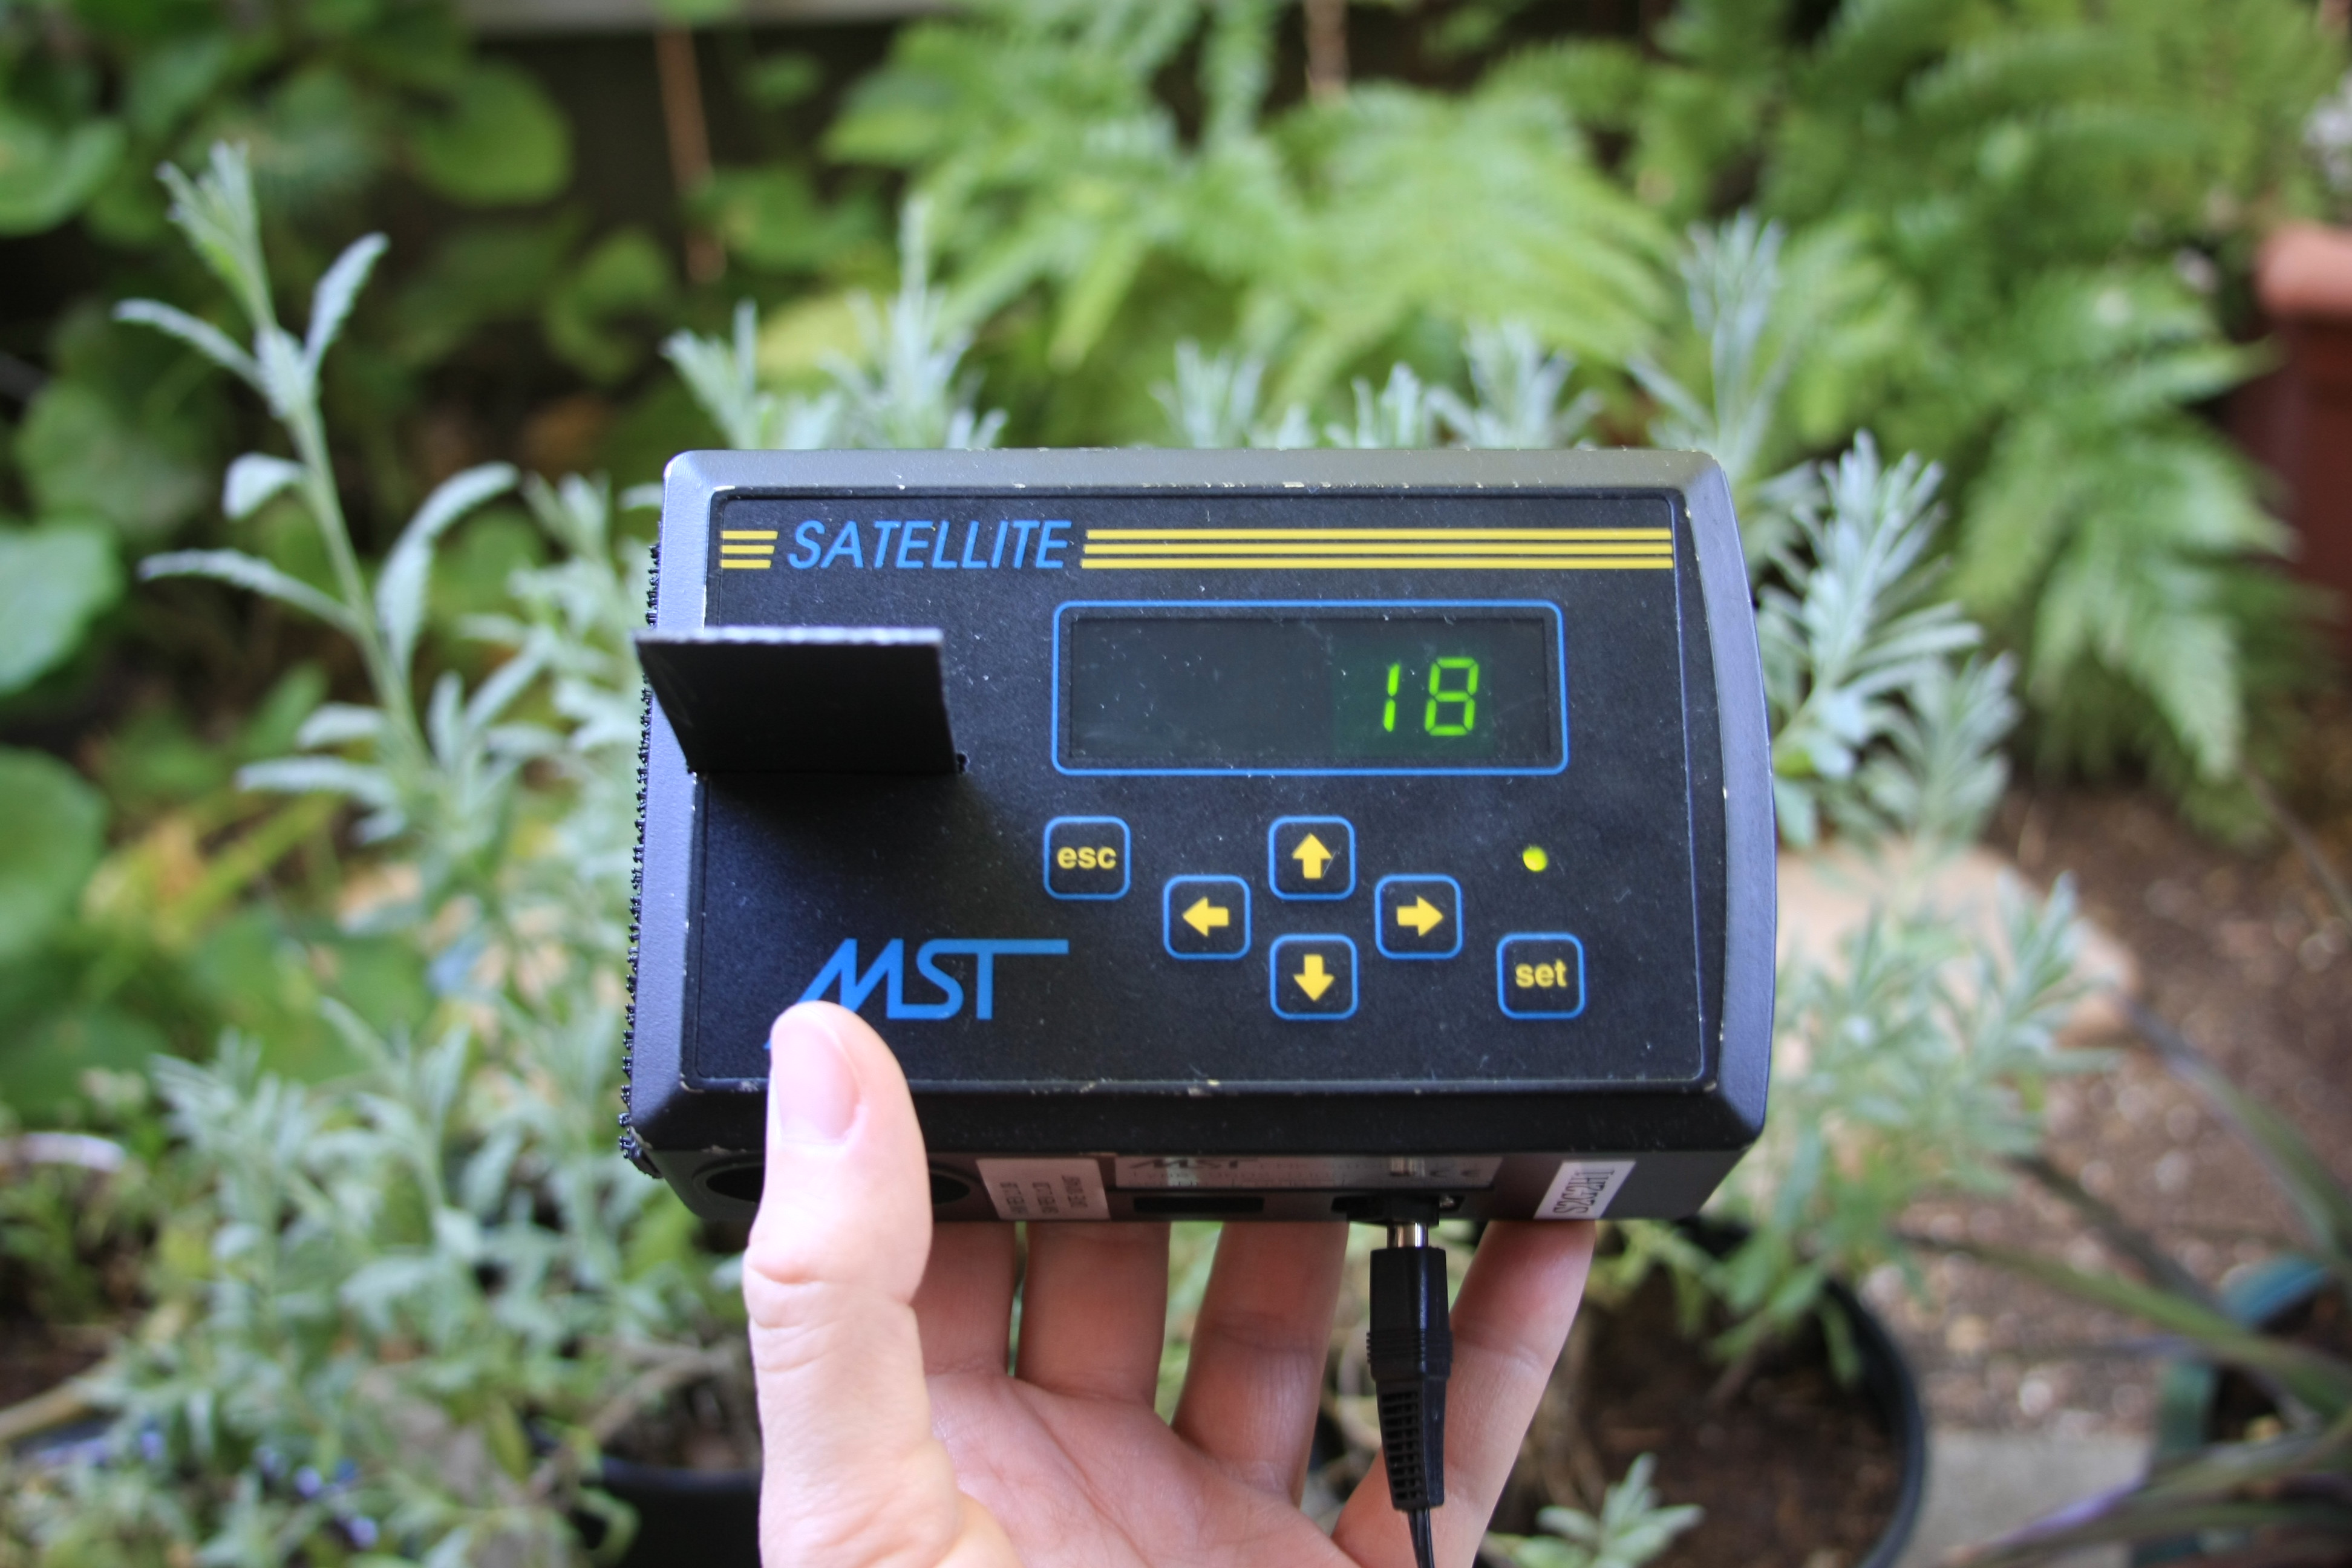
Run the Air Sampler
|
Set the desired time and press the Start button.
Kick back and relax.
I usually run my sampler for 30 minutes; sometimes when I want to get a really dense sample I run it for longer.
If you build your own sampler your experience may vary depending on the device construction and fan power, whether you live in a place without much pollen such as Antarctica, or with a lot of pollen such as anywhere else, and so on.
|
 |
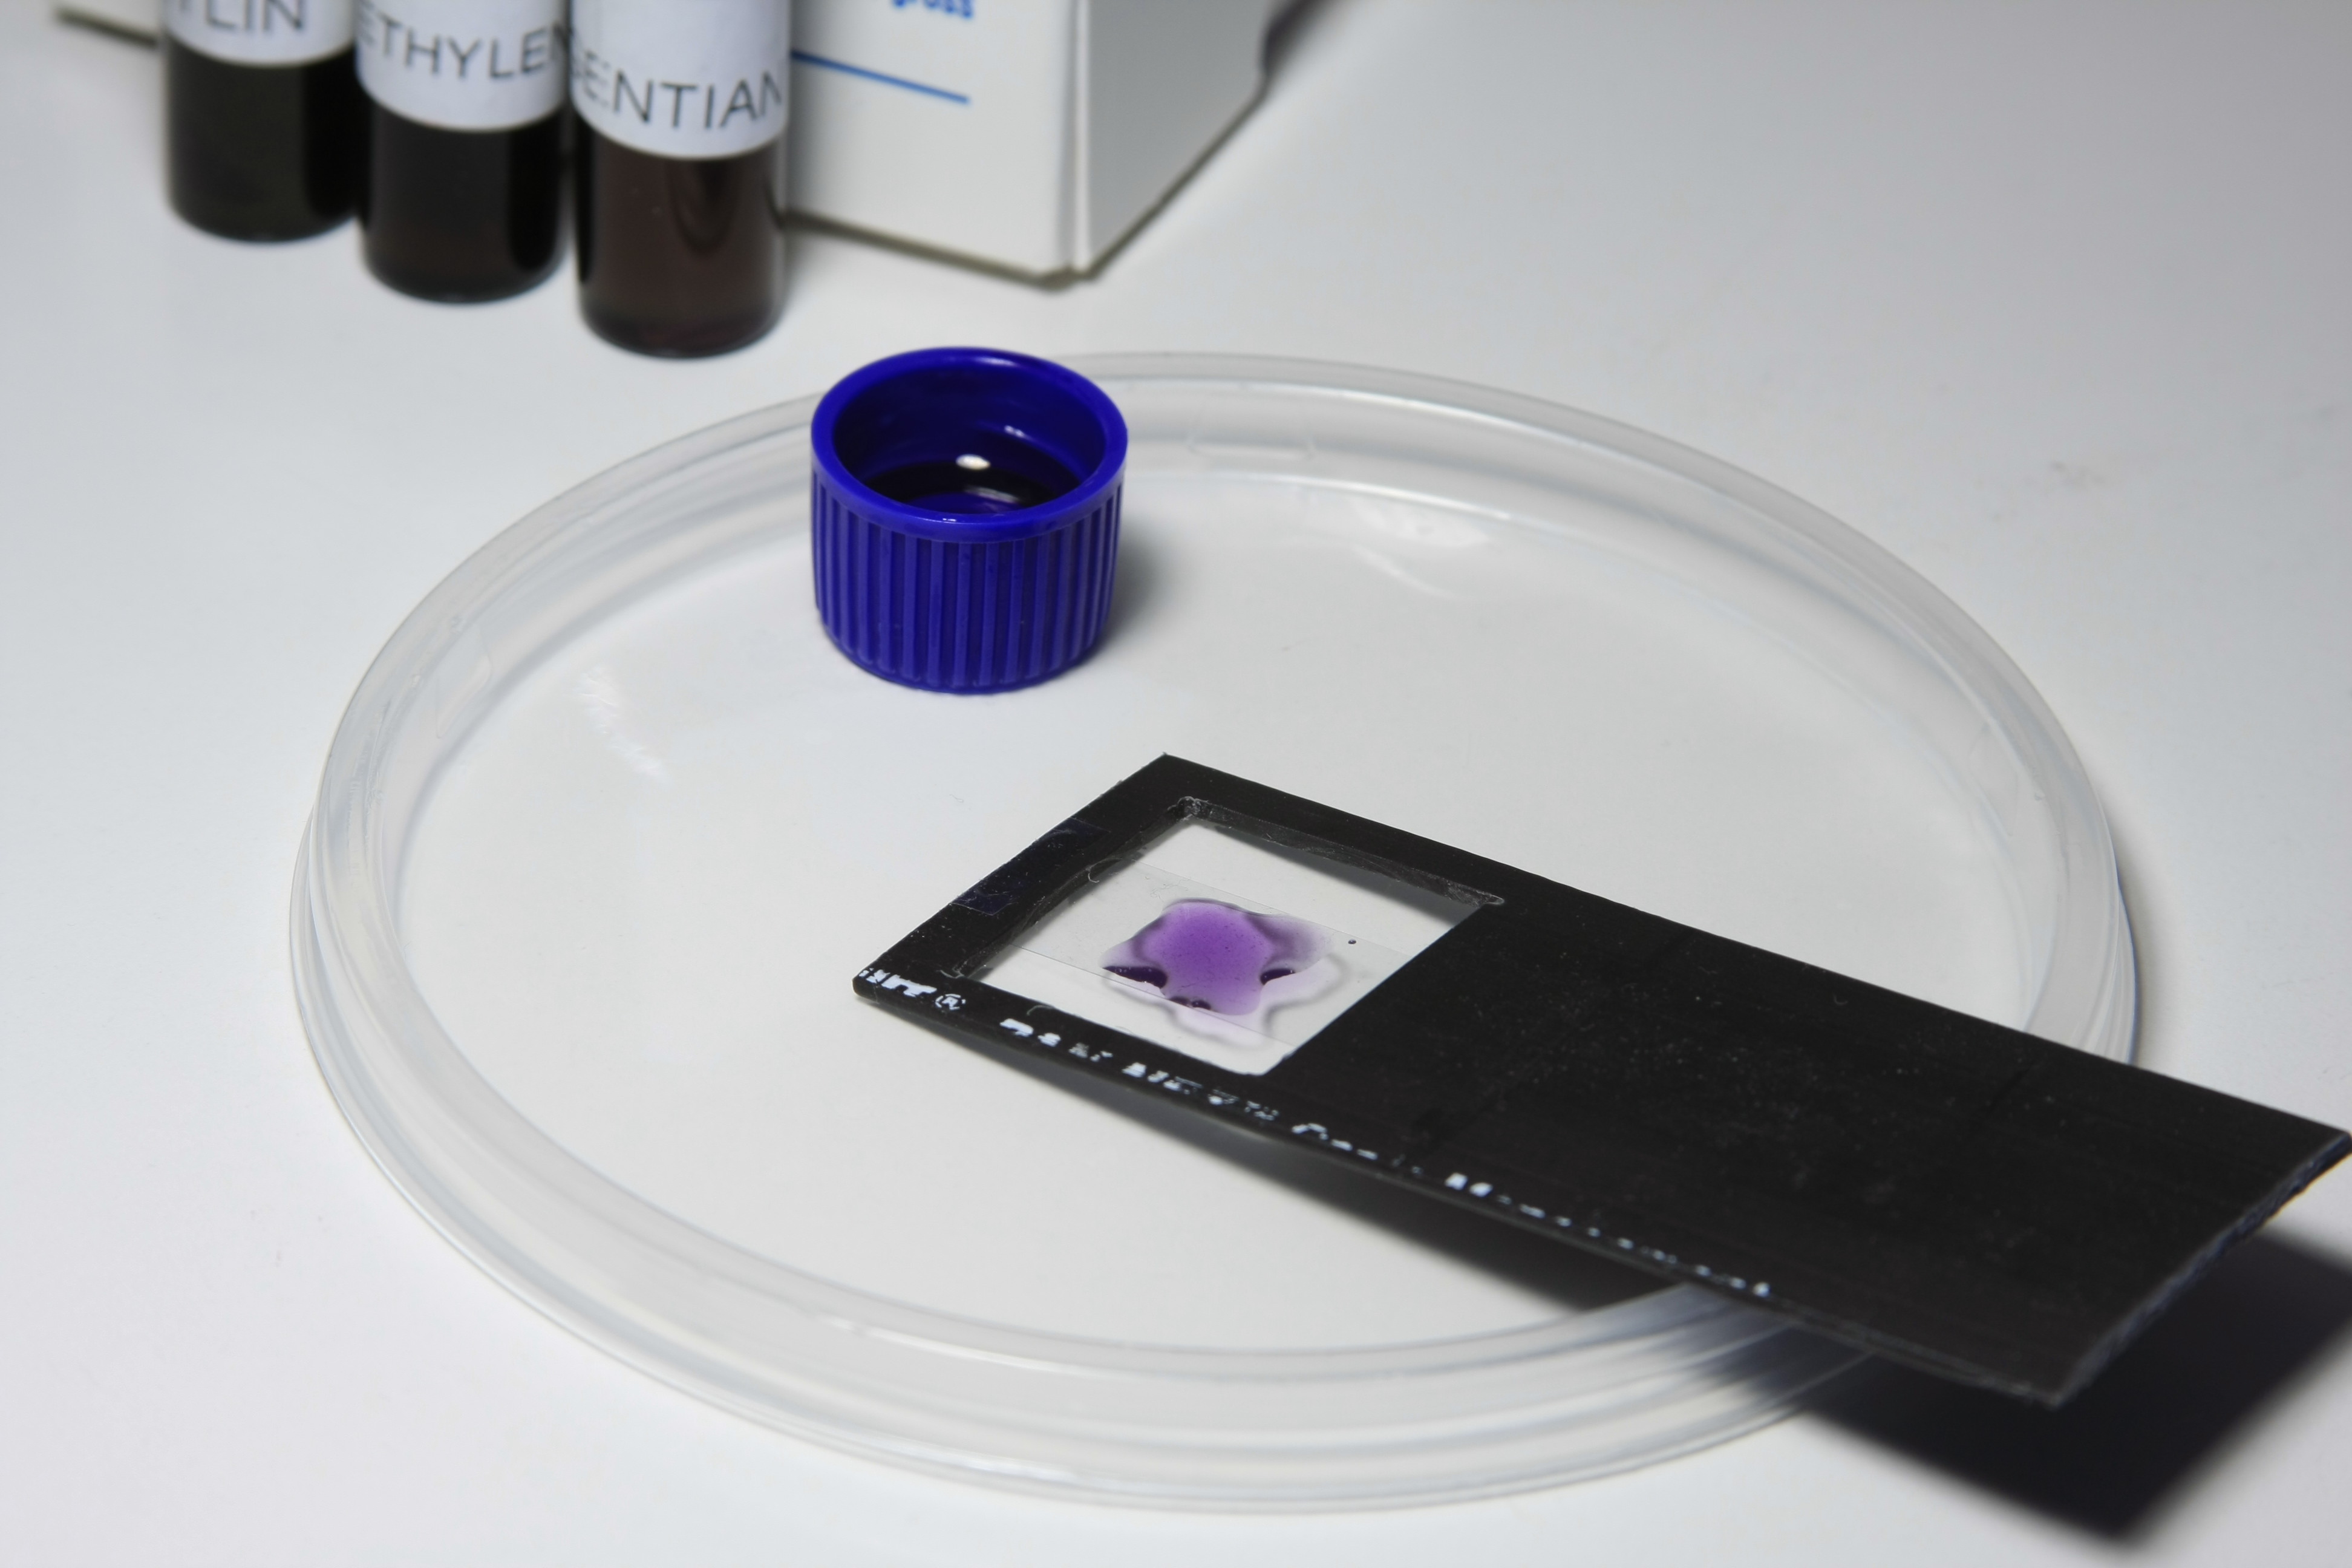
[Optional] Stain the pollen
|
After the timer stops, bring it in and take the tape holder out.
If you wish, you can stain the pollen grains now, for better contrast under the microscope.
What I have found to work quite satisfactory is to wash the pollen with a few drops of 50% isopropyl alcohol first.
This is said to remove the oils that cover some pollen grains.
Then, I put a drop of hematoxylin for 30 seconds and wash it off with a few last drops of water.
During this process, the tape might start to look foggy.
Don't worry, this is normal and will not cause any problems later.
|
 |
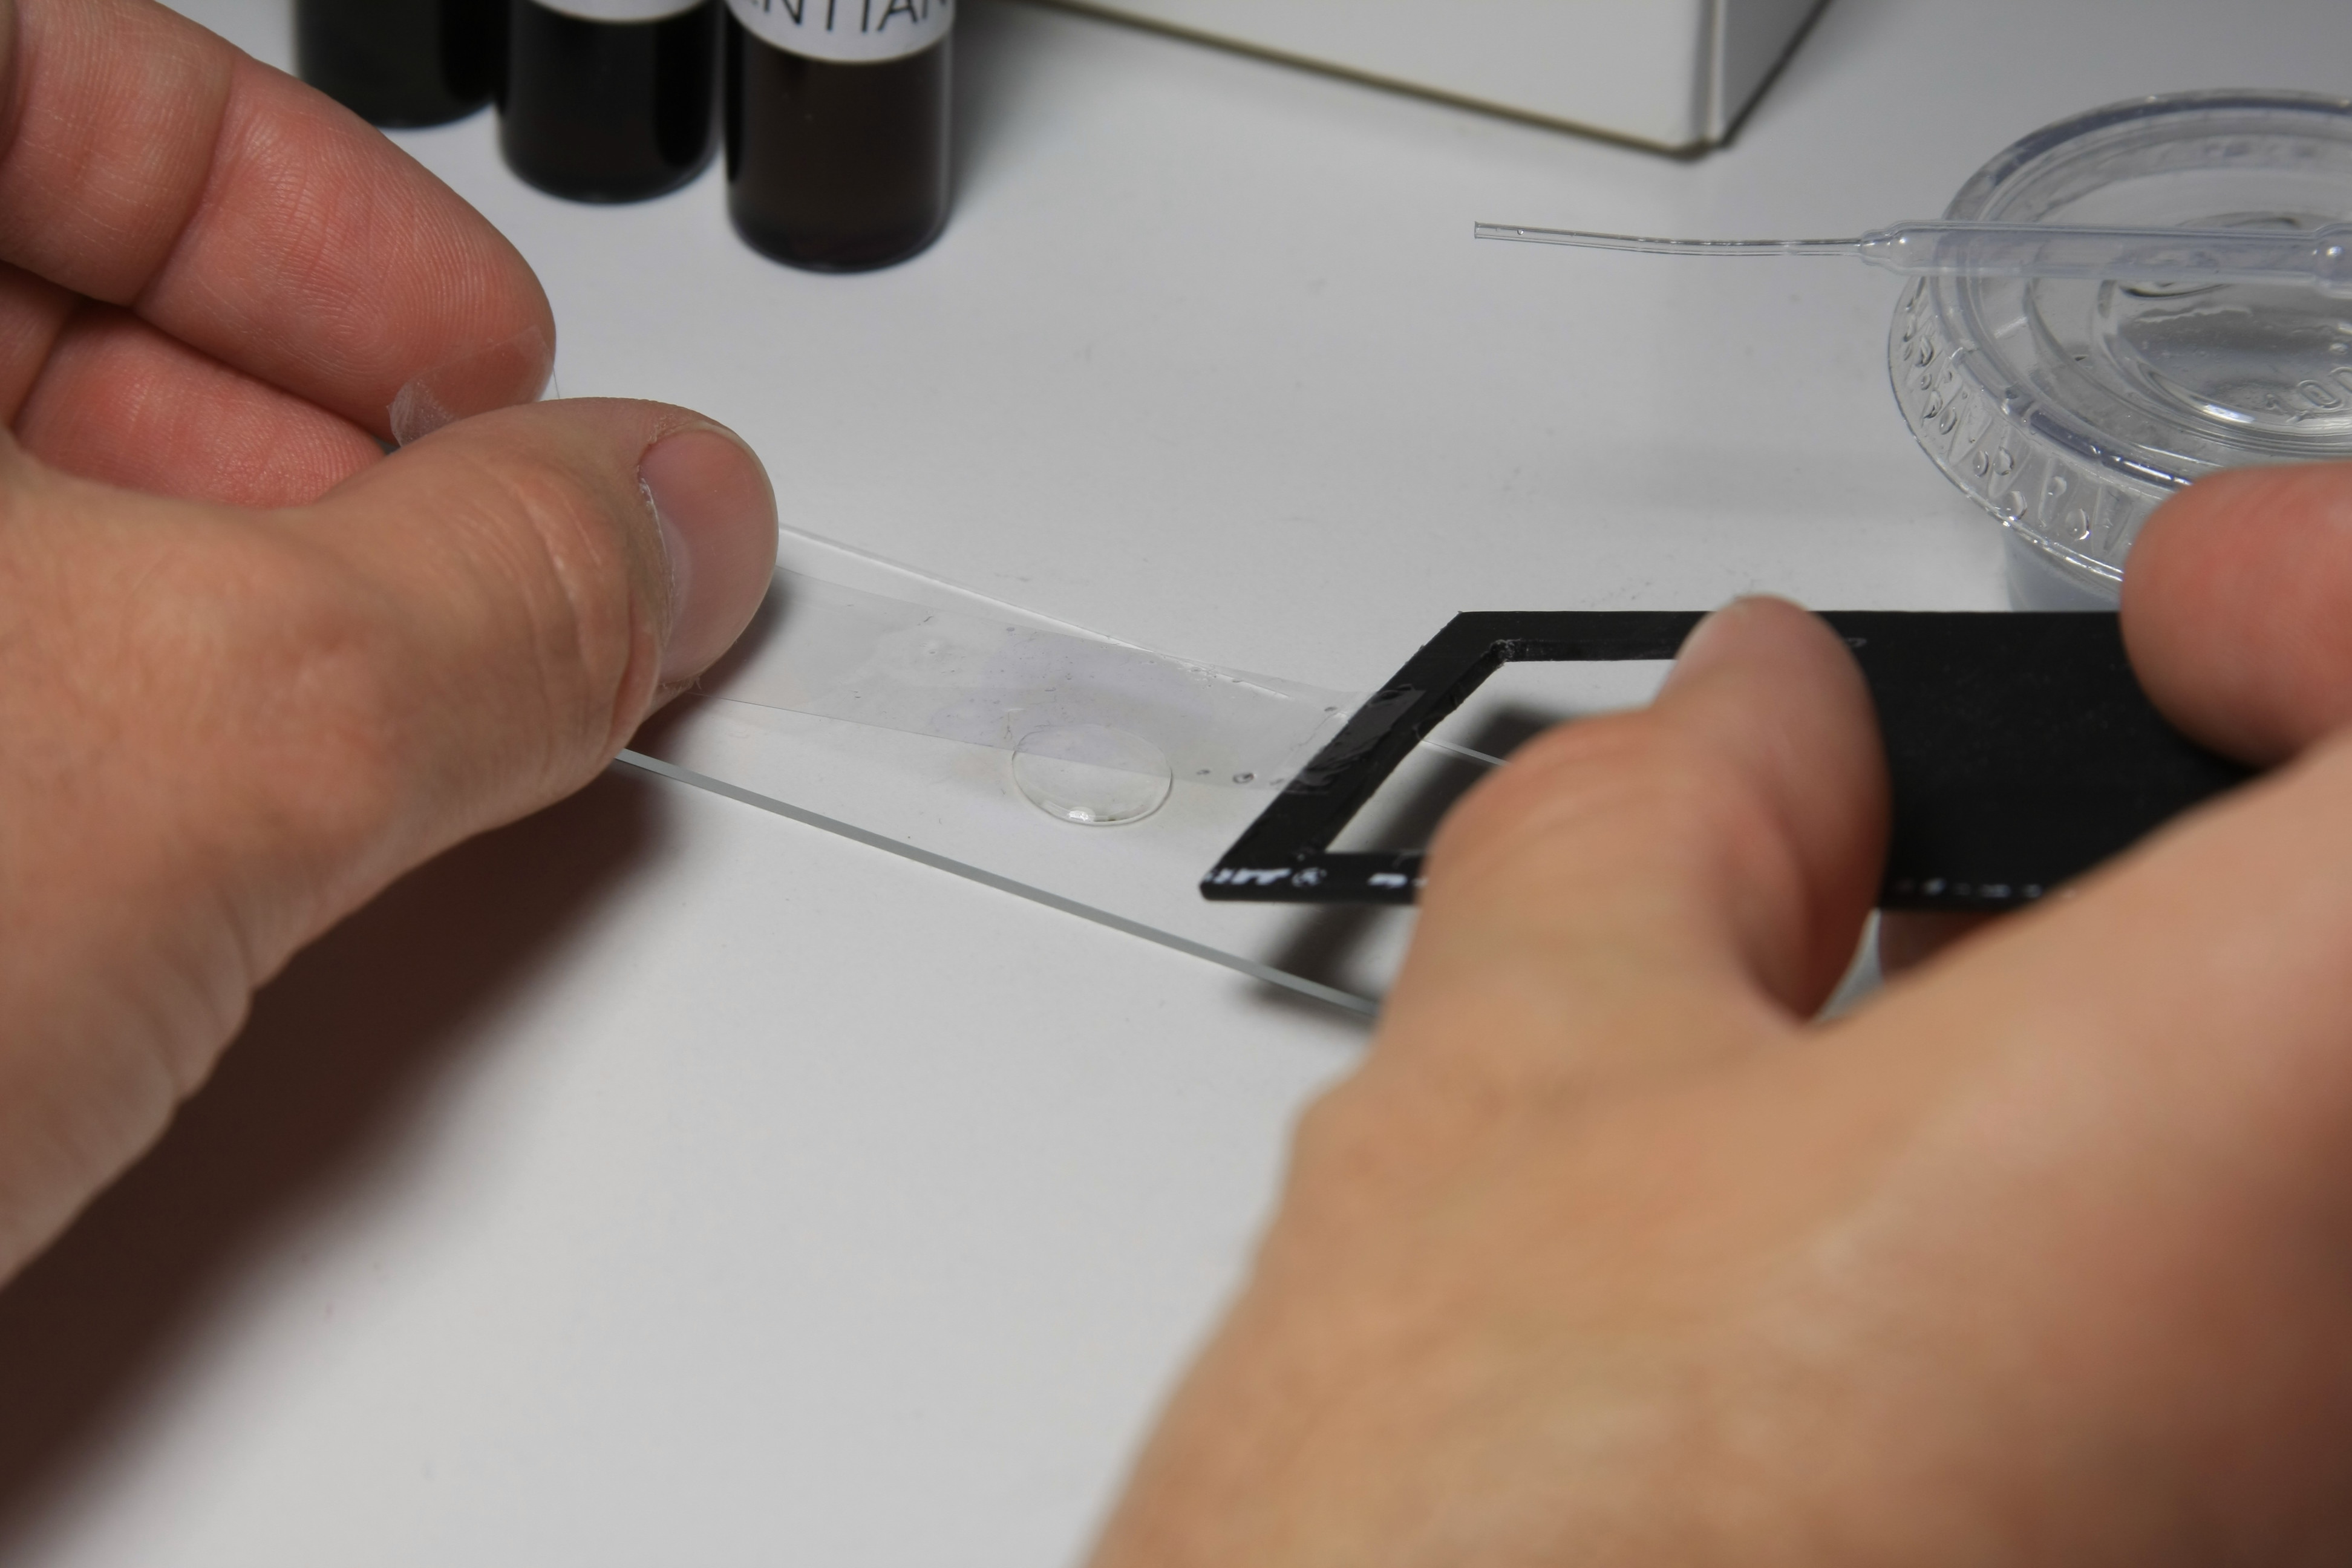
Prepare the Slide
|
In my initial attempts I just stuck the tape to the microscope slide and started looking.
Not much to see this way - most pollen grains look like shriveled raisins.
The problem is that the grain shape changes drastically when pollen dries in the air.
To see the real shape, the pollen must be well hydrated.
A very easy way to hydrate the pollen is to use 1:1 mixture of glycerin and 50% isopropyl alcohol. I put one drop of the mixture on the glass slide and then just stick the tape on top of that. After 5-10 minutes the pollen grains expand to their original shape. Note that the tape may become even foggier than before - again, this is normal and with some luck won't be a problem. I'm sure there are better ways to hydrate pollen grains, but this is the first thing I tried and it worked fine. As a programmer I follow the rule "if it works, don't fix it". |
 |
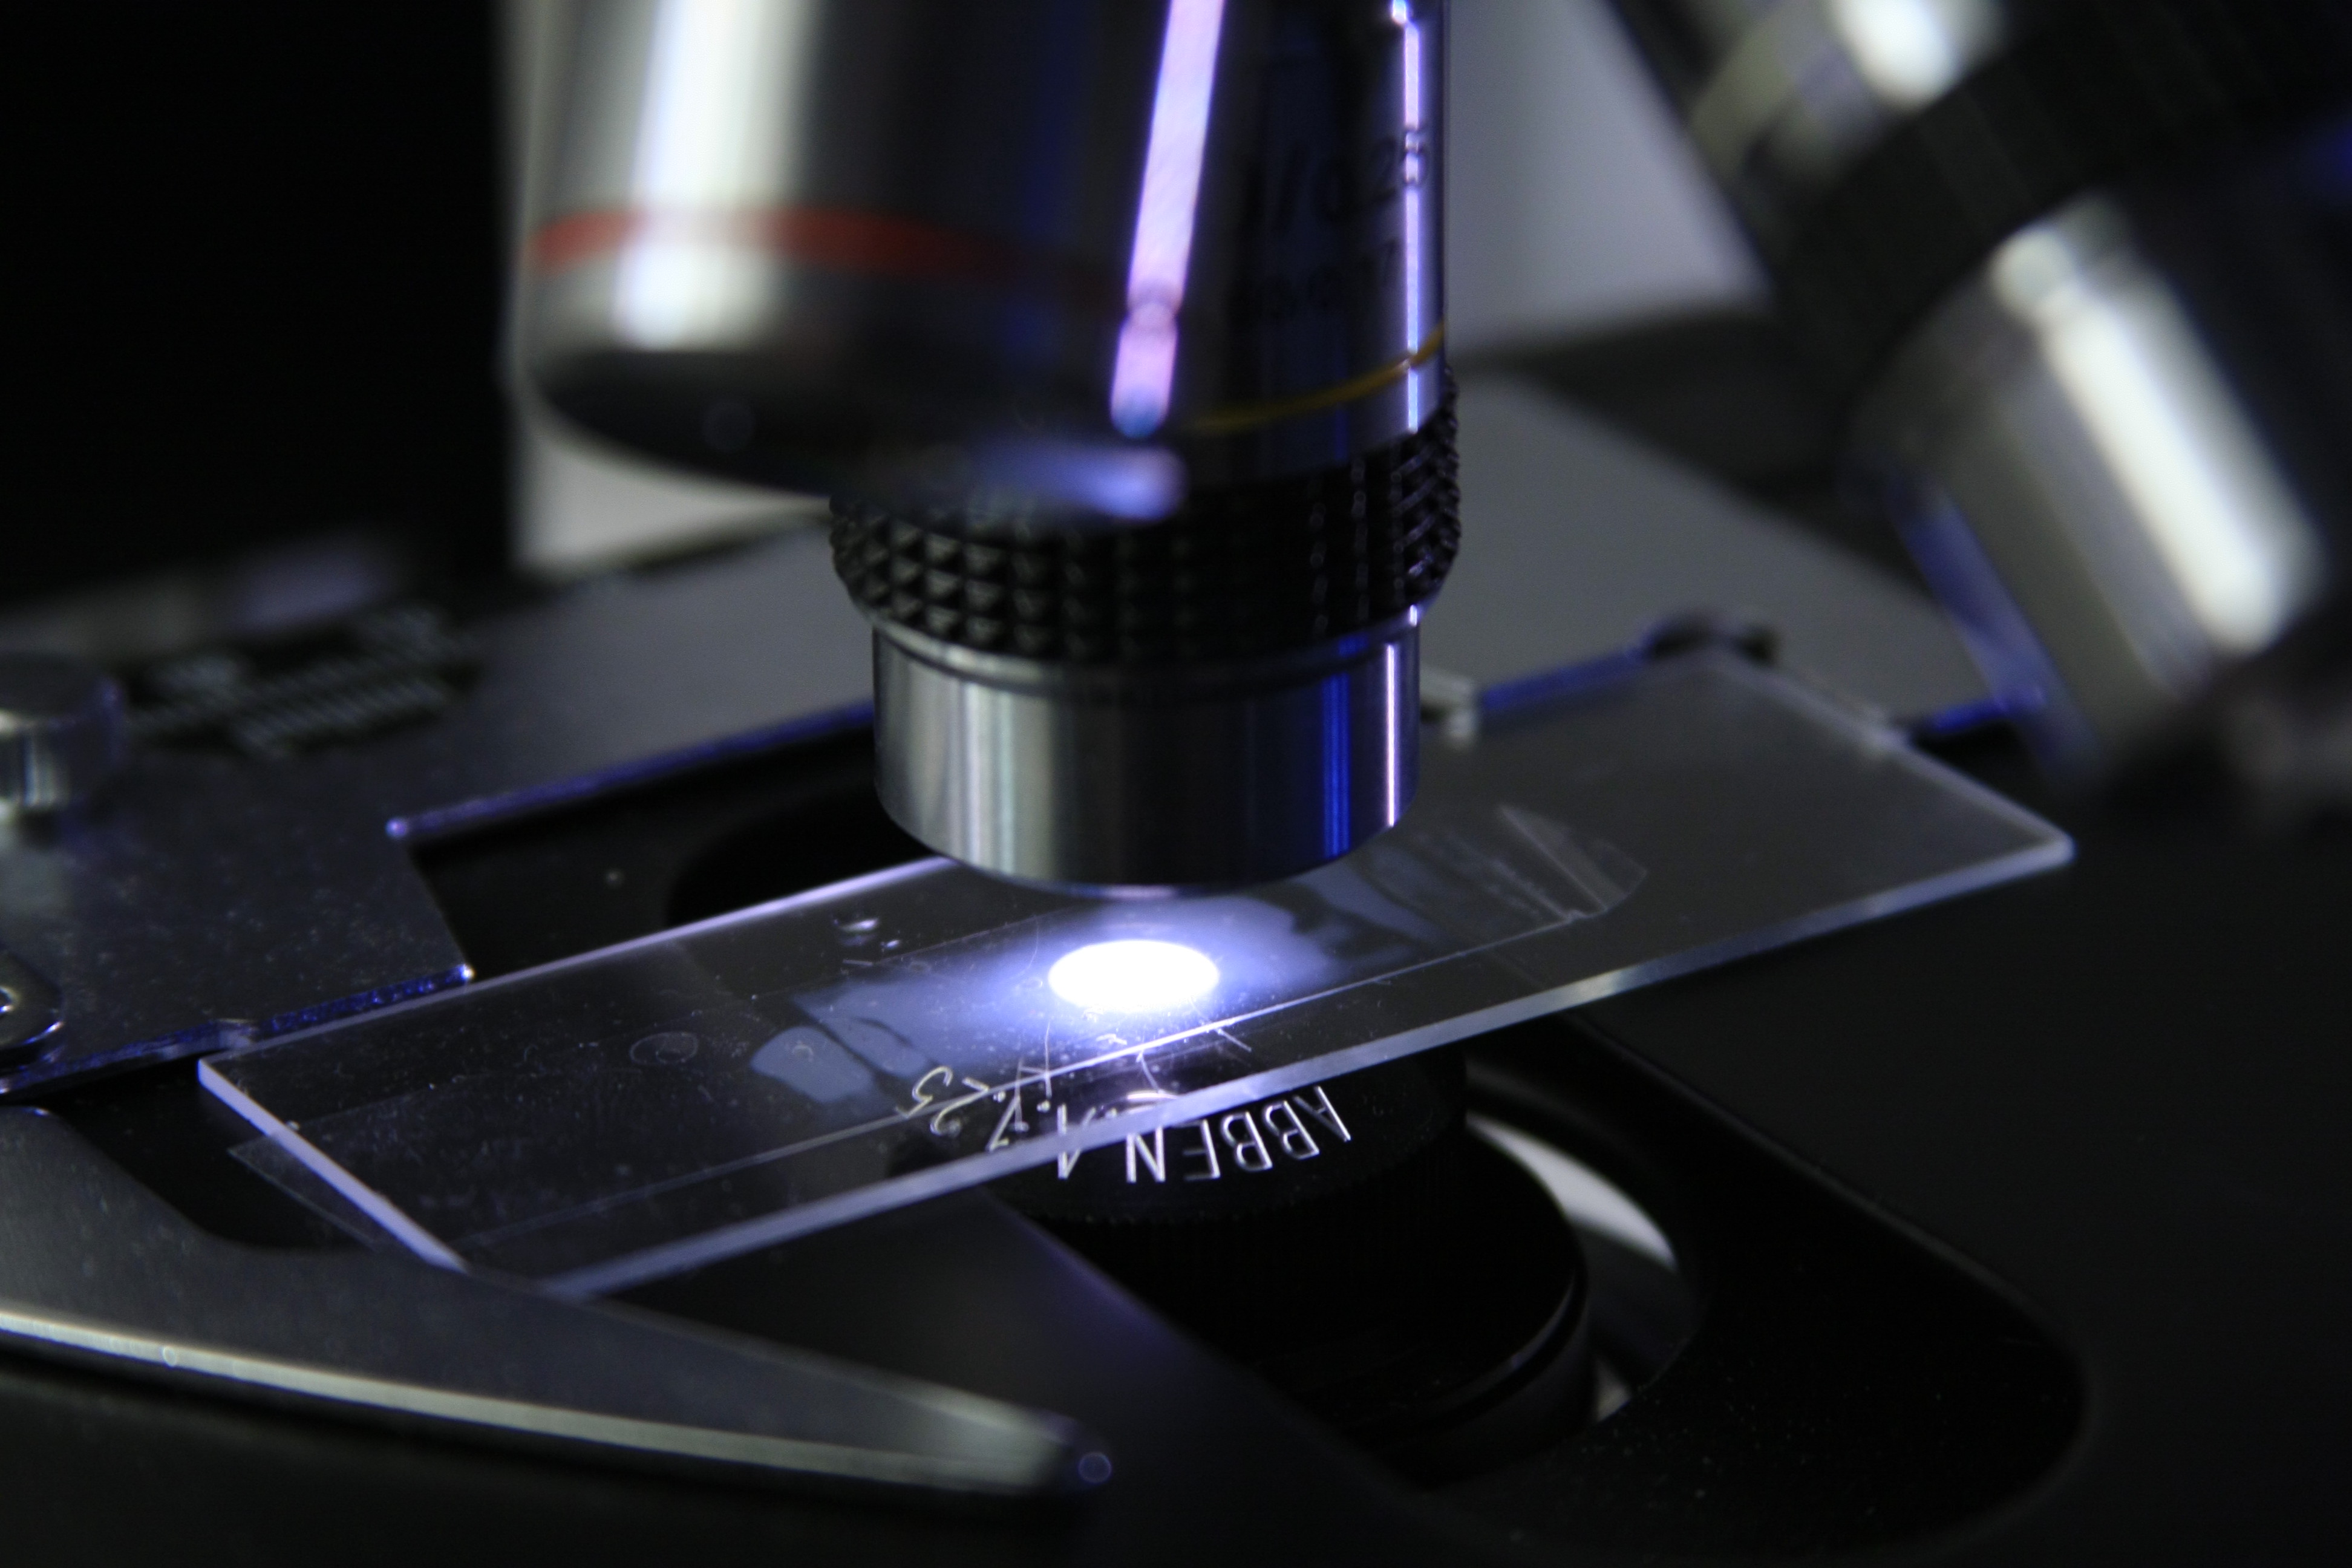
View the Sample
|
Pop the slide under the microscope, look, and enjoy!
There are many things you can do - when I got bored with just looking at pollen, I started learning to identify them.
This turned out not to be an easy task, but there were enough references online and in the libraries to get me stared.
Also, I started making counts that let me keep track of the various kind of particulate matter in the air and see how those change during the year and with the weather.
If you are interested, check some pictures of what got caught on the sticky tape. |
 |
| Main | Construction | Operation | Schematics & Code | Pollen | Other Projects | |||||||||
 | ||||||||||||||